How to Apply for Australia ETA Visa Successfully: A Simple 5-Step Guide
The Australian ETA application process has changed a fair bit since since the last time most people went down under–which was, what, at least 2020? Having just returned from Sydney and assisted my mother and relatives with their upcoming applications, I can say that it’s not so simple to apply for Australia ETA, even if you are not tech illiterate.
While there is a step-by-step guide on the Department of Home Affairs website, it misses out several important details that I will cover in this post.
How to Apply for Australia ETA Visa
The ETA or Electronic Travel Authority is available for citizens of visa-waiver countries including Singapore planning australia international travel. While note technically a visa, it has its own subclass (600 is the number) and is a requirement for visiting the country for leisure or some types of business.
When granted, it allows a year of unlimited entries to Australia, subject to the maximum number of days that the federal government lets your countrymen stay (30 days for Singaporeans).
Unless in the past, however, it cannot be applied for on a website or through an airline or travel agent. It is now done entirely on a mobile app by the applicant (or a person assisting them on a mobile device). These are the things you need before you get started:
- A mobile phone with near-field communication (NFC) enabled
- The physical and valid biometric passport of the applicant that will be used for the trip
- The applicant has to be present (if you are helping them do this)
- A well-lit environment to take photographs
- Access to the applicant’s email account
- Credit card details
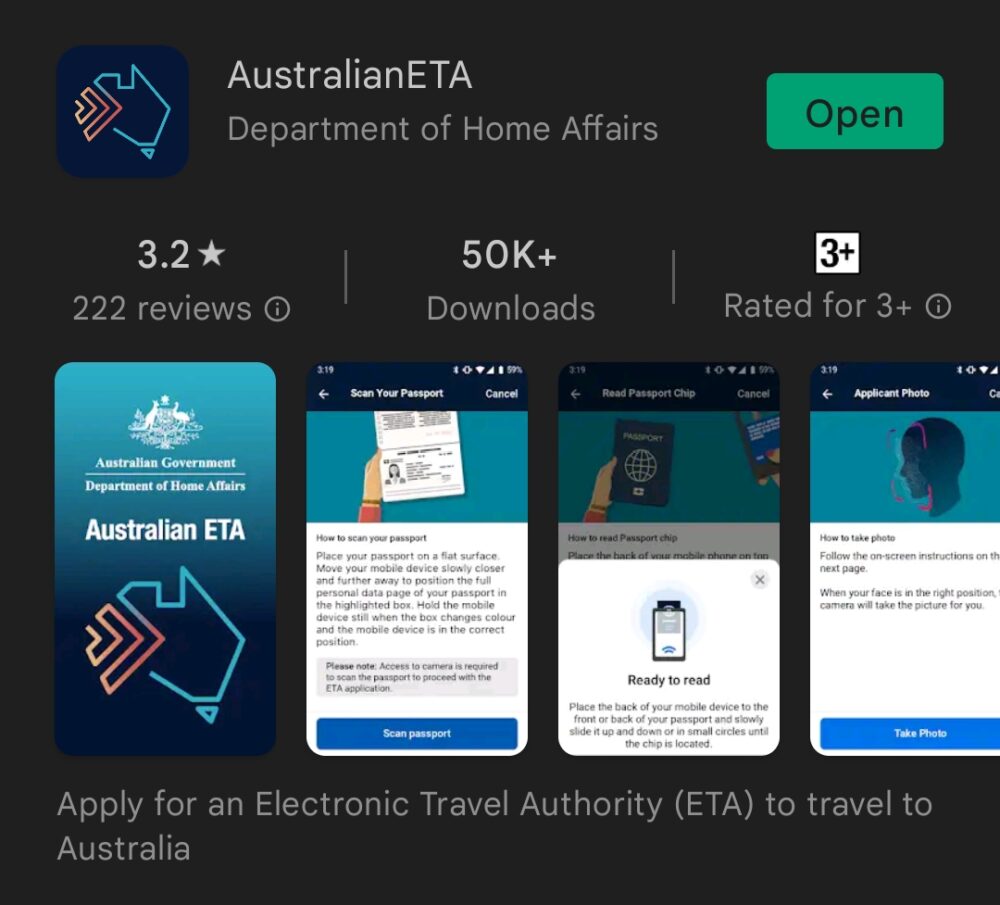
Step 1: Download the Australia ETA app
Download the Australia ETA app from the App Store or Google Play onto your mobile device, a suitable one with a camera and NFC as mentioned. No, you cannot do this on an internet browser, laptop or desktop computer.
When you open the app, the owner of the device will need to create a six-digit PIN that they will need to key-in whenever they access it in the future.
Step 2: Create the applicant’s profile
By default, the app will prompt you to create a profile of the person who is going to apply for Australia ETA. If you are travelling in a group, every member has to create their own profile and apply for an ETA. This can all be done on one person’s phone, however.
The app starts by showing you the terms of usage. You will need to read all the way to the end before you check the ‘I agree’ box and proceed.
2a. Photograph the actual passport
The app will then seek permission to access your phone’s camera. Once you grant that, it will ask you to take a photograph of the personal information page of your passport. You cannot upload any photocopies you made previously; instead, it will switch automatically to the camera mode. Put your passport on a flat and stable surface with the info page facing up, and move your phone so that the page is fully within the rectangle on the screen. Hold it steady and let the app scan the page.
2b. Scan the passport’s chip
The app will then ask you to scan the chip in your passport. If your phone’s NFC is not enabled yet, turn it on. Remove any covers on both the passport and phone, then place the phone flat on the passport info page and move it around slowly. The ideal spot varies for different phones, depending on where the scanner is located inside the device. If it fails to detect the chip, keep retrying and moving the phone around until it does. The app will then show you the information that it has extracted and you need to confirm that it is correct.
2c. Photograph the applicant
The app will then ask to take a photograph of the applicant. Once again, you cannot upload an existing photograph. When you hit ‘take photo’ to proceed, it opens with the front camera in the selfie mode by default, so if you are not the applicant, don’t look directly into the screen. Toggle to the rear camera by touching the icon on the top right-hand corner of the screen to take their photograph.
Make sure the applicant is in a well-lit place with plain-coloured clothes and a plain background. Move the phone around until the person’s face fits the lozenge and there is no glare on their spectacles if they wear a pair. The message ‘compliance’ will show if you have the ideal shot and it will be taken automatically; if you are using the rear camera, the flash will be activated.
2d. Enter and declare other personal information
At the next step, you should declare if you hold passports of any other country, and if you do, enter those details. You will then have the option of checking for any existing ETA or other visas that might still be in force. If you apply for Australia ETA, it won’t come into effect until those existing visas expire.
The app will then ask for other personal information: Country of birth, any alias you have been known by, and your home address, which the app will pull from Google Maps to automatically fill. Do change the city field to ‘Singapore’ from whichever neighbourhood was selected, then enter the applicant’s local (i.e. Singapore) mobile phone number.
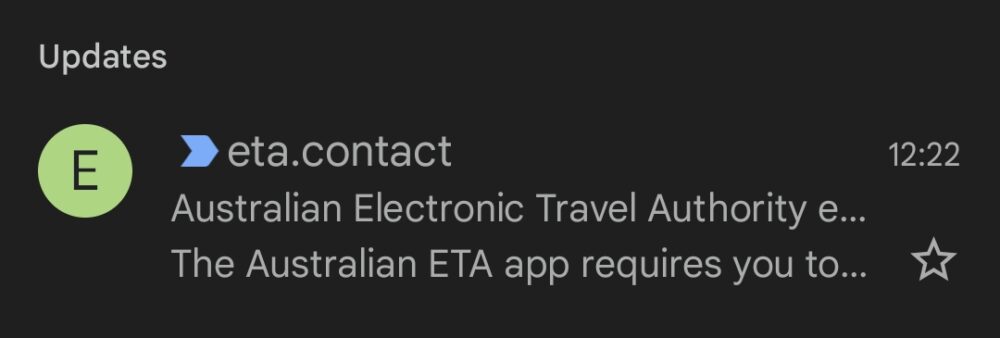
At the next step, the app will request the applicant’s email address. Once you confirm it, it will send a six-digit password to the email that you have to retrieve. Look for the email from eta.contact@ivisa.com.au and key the number at the end into the Australia ETA app.
Once that is done, you will be asked to confirm and save the information you provided. The applicant’s profile has been created. Complete the next steps first before creating other profiles for other people.
Step 3: Complete the questions
By default, the app will start the ETA application process. It will ask for the type of ETA (tourist or business), if the person in the profile is the applicant (select yes) and their location at the time of the application. It will also ask to access the device’s location, so let it do so.
The next three steps will ask you or the applicant if they understand that they can be deported if they overstay, and to declare if they have any criminal convictions and convictions and orders against them for domestic violence.
The applicant will then be asked for their address and contact number in Australia. Putting down the details of the first night’s accommodation works fine, otherwise fill out the reason for not knowing where you will be. It does not appear to affect the speed of approval. The final step before payment is to confirm the information you entered.
Step 4: Pay for the ETA
Payment can be done only through credit card, so you will need the credit card details of a person who is comfortable with online transactions. It can also pull up a credit card that is saved in Google Pay; if you can confirm that it also works with Apple Pay and Samsung Pay wallets, do comment below! The cost of the application is A$20, so your bank’s overseas transaction fees will apply.
If you are going to help another person apply for their ETA, you don’t have to wait. Go to the Australia ETA app’s home page, select ‘New ETA’, followed by ‘Add another applicant’, and follow the same steps.
Step 5: Wait for the approval
Check your email inbox after five minutes for the an email from eta.contact. The attachment contains the details of your ETA and the information will also be updated in the Australia ETA app. Singaporeans tend to get approval almost instantly; Malaysians seem to take much longer for some unexplained reason, based on what has been shared in Telegram groups. Even then, one should apply for Australia ETA Visa at least a month before their trip.
You can save a soft copy of the ETA approval on the applicant’s phone (forward it to them if the application was not done on their device), or print it out. One would only need to show it at check-in for flights to Australia. If the person who used their phone to help the visitor to Australia apply for Australia ETA is not travelling with them, they don’t have to show up.
Other steps and Australia ETA questions
There is no longer a need to download the Australia DPD app to complete a further Digital Passenger Declaration. It is also a good time to download the notarised version of the vaccination certificate from www.notarise.gov.sg, which publishes your COVID-19 vaccination information in an internationally recognised format you can also use on other trips.
With all these processes having been digitalised, the only paper form you need to look out for is the customs forms. The air crew will issue them and you have to be sure you are not bringing anything the federal and state governments don’t permit, including food, soil, animals, plants and parts of these, including seeds. Otherwise you might end up being the subject of an episode of Border Security.